Flask - Part 9
29 Sep 2018 · 6 min read
Introduction
This version_9 will teach you how to implement token revokation.
Setting up
To begin we will start from our previous version_8 app. If you don’t have it anymore, no worries, simply copy the reference code.
# assuming you're in flask_learning
cp -R flask_cybermooc/version_8 my_app_v9
cd my_app_v9
and we create our venv.
# assuming you're in flask_learning/my_app_v9
virtualenv venv -p python3
source venv/bin/activate
# (venv)
pip install -r requirements.txt
All set up ? let’s begin.
1 - Listing the tokens
The user should have a route to get all its tokens so it can revoke some/all of them.
1.1 - Adding our route
So let’s create api_v1/token.py to host our routes.
# assuming you're in flask_learning/my_app_v9 (venv)
touch app/api_v1/token.py
and code :
# app/api_v1/token.py

from flask import jsonify
from . import api_v1_blueprint
from .decorators import login_required
from ..database import db


@api_v1_blueprint.route('/tokens', methods=['GET'])
@login_required
def route_list_tokens(current_user):
    return jsonify(tokens=current_user.tokens)
We then import this new file in our module app/api_v1/__init__.py.
# app/api_v1/__init__.py

from flask import Blueprint

api_v1_blueprint = Blueprint('api_v1', __name__, url_prefix='/api/v1')

# Import any endpoints here to make them available
from . import hello
from . import user
from . import token
1.2 - Unit testing
Let’s create a new file tests/test_6_tokens.py :
# tests/test_6_tokens.py

def test_login_before_logout(client, global_data):
    correct = client.post("/api/v1/login", json={
        'username': 'testuser', 'password': 'test_user'
    })
    json_data = correct.get_json()
    global_data['token2'] = json_data['token']


def test_list_tokens(client, global_data):
    rv = client.get('/api/v1/tokens',
        headers={'Authorization': global_data['token']}
    )
    json_data = rv.get_json()
    assert rv.status_code == 200
    assert "tokens" in json_data
    assert len(json_data["tokens"]) == 2
    global_data['token_id'] = json_data["tokens"][0]["id"]
And let’s run those tests.
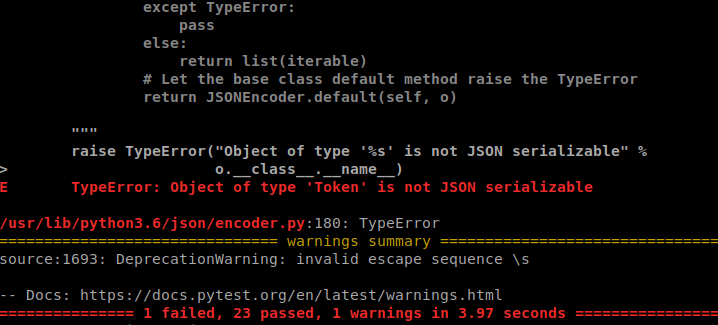
Uh oh… Flask is telling us that our Token model object is not JSON serializable.
So how does an Object become JSON serializable ?
→ This Object should have a method that returns a dict.
So we can either create a function or a method that does that, OR we can use schemas !
2 - Marshmallow
Marshmallow is a python serializer/deserializer. It can convert python Object ↔ JSON.
A schema can be used to validate, serialize and deserialize data. It is a way to tell marshmallow which fields to take, which to exclude.
2.1 - Installing marshamallow
In our venv, let’s install flask-marshmallow which contains marshmallow + a wrapper for flask.
And we don’t forget to update our requirements.txt.
# assuming you're in flask_learning/my_app_v9 (venv)
pip install flask-marshmallow marshmallow-sqlalchemy
pip freeze > requirements.txt
2.2 - Adding sqlalchemy to our app
Now that marshamallow is installed, we need to tell our app to use marshmallow when it starts.
It’s a good idea to keep the Marshmallow object instance in a separate file
Let’s create the marshmallow file :
# assuming you're in flask_learning/my_app_v9 (venv)
touch app/marshmallow.py
and declare our instance :
# app/marshmallow.py

from flask_marshmallow import Marshmallow

ma = Marshmallow()
Then in the application_factory __init__.py, let’s import our fresh marshmallow instance:
# app/__init__.py

from flask import Flask

def create_app():
    app = Flask(__name__)

    from os import environ as env
    app.config['SQLALCHEMY_DATABASE_URI'] = env.get('DATABASE_URL')
    app.config['SQLALCHEMY_TRACK_MODIFICATIONS'] = False

    from .database import db
    db.init_app(app)

    from .bcrypt import bc
    bc.init_app(app)

    from .cli import cli_init_app
    cli_init_app(app)

    from .marshmallow import ma
    ma.init_app(app)

    from .api_v1 import api_v1_blueprint, root_blueprint
    app.register_blueprint(root_blueprint)
    app.register_blueprint(api_v1_blueprint)

    return app
All good, let’s continue and create declare our schemas.
2.3 - Creating our marshmallow schemas
Let’s create a folder dedicated to our schemas (schemas of our models).
# assuming you're in flask_learning/my_app_v9 (venv)
mkdir app/schemas
and a file for our Token schema.
# assuming you're in flask_learning/my_app_v9 (venv)
touch app/schemas/token.py
and we declare it :
# schemas/token.py
# https://marshmallow.readthedocs.io/en/3.0/quickstart.html
# https://marshmallow.readthedocs.io/en/3.0/extending.html
# https://marshmallow.readthedocs.io/en/latest/nesting.html

from marshmallow import fields
from ..marshmallow import ma
from ..models.token import Token


class TokenSchema(ma.ModelSchema):

    class Meta:
        model = Token
        include_fk = True


token_schema = TokenSchema()
tokens_schema = TokenSchema(many=True)
This file simply imports the Token model to get all the fields and export 2 schemas.
3 - Fixing our route
Now that our schema is declared, let’s fix our listing tokens route.
# api_v1/token.py

from flask import jsonify
from . import api_v1_blueprint
from .decorators import login_required
from ..database import db
from ..schemas.token import tokens_schema


@api_v1_blueprint.route('/tokens', methods=['GET'])
@login_required
def route_list_tokens(current_user):
    json_tokens = tokens_schema.dump(current_user.tokens).data
    return jsonify(tokens=json_tokens)
3.1 - Unit test again
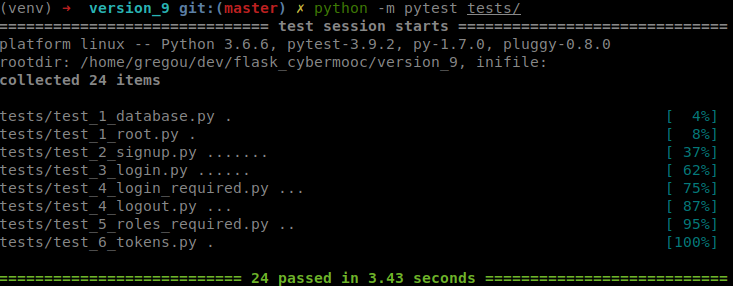
Well, it’s working great :)
3.2 - Testing with Postman
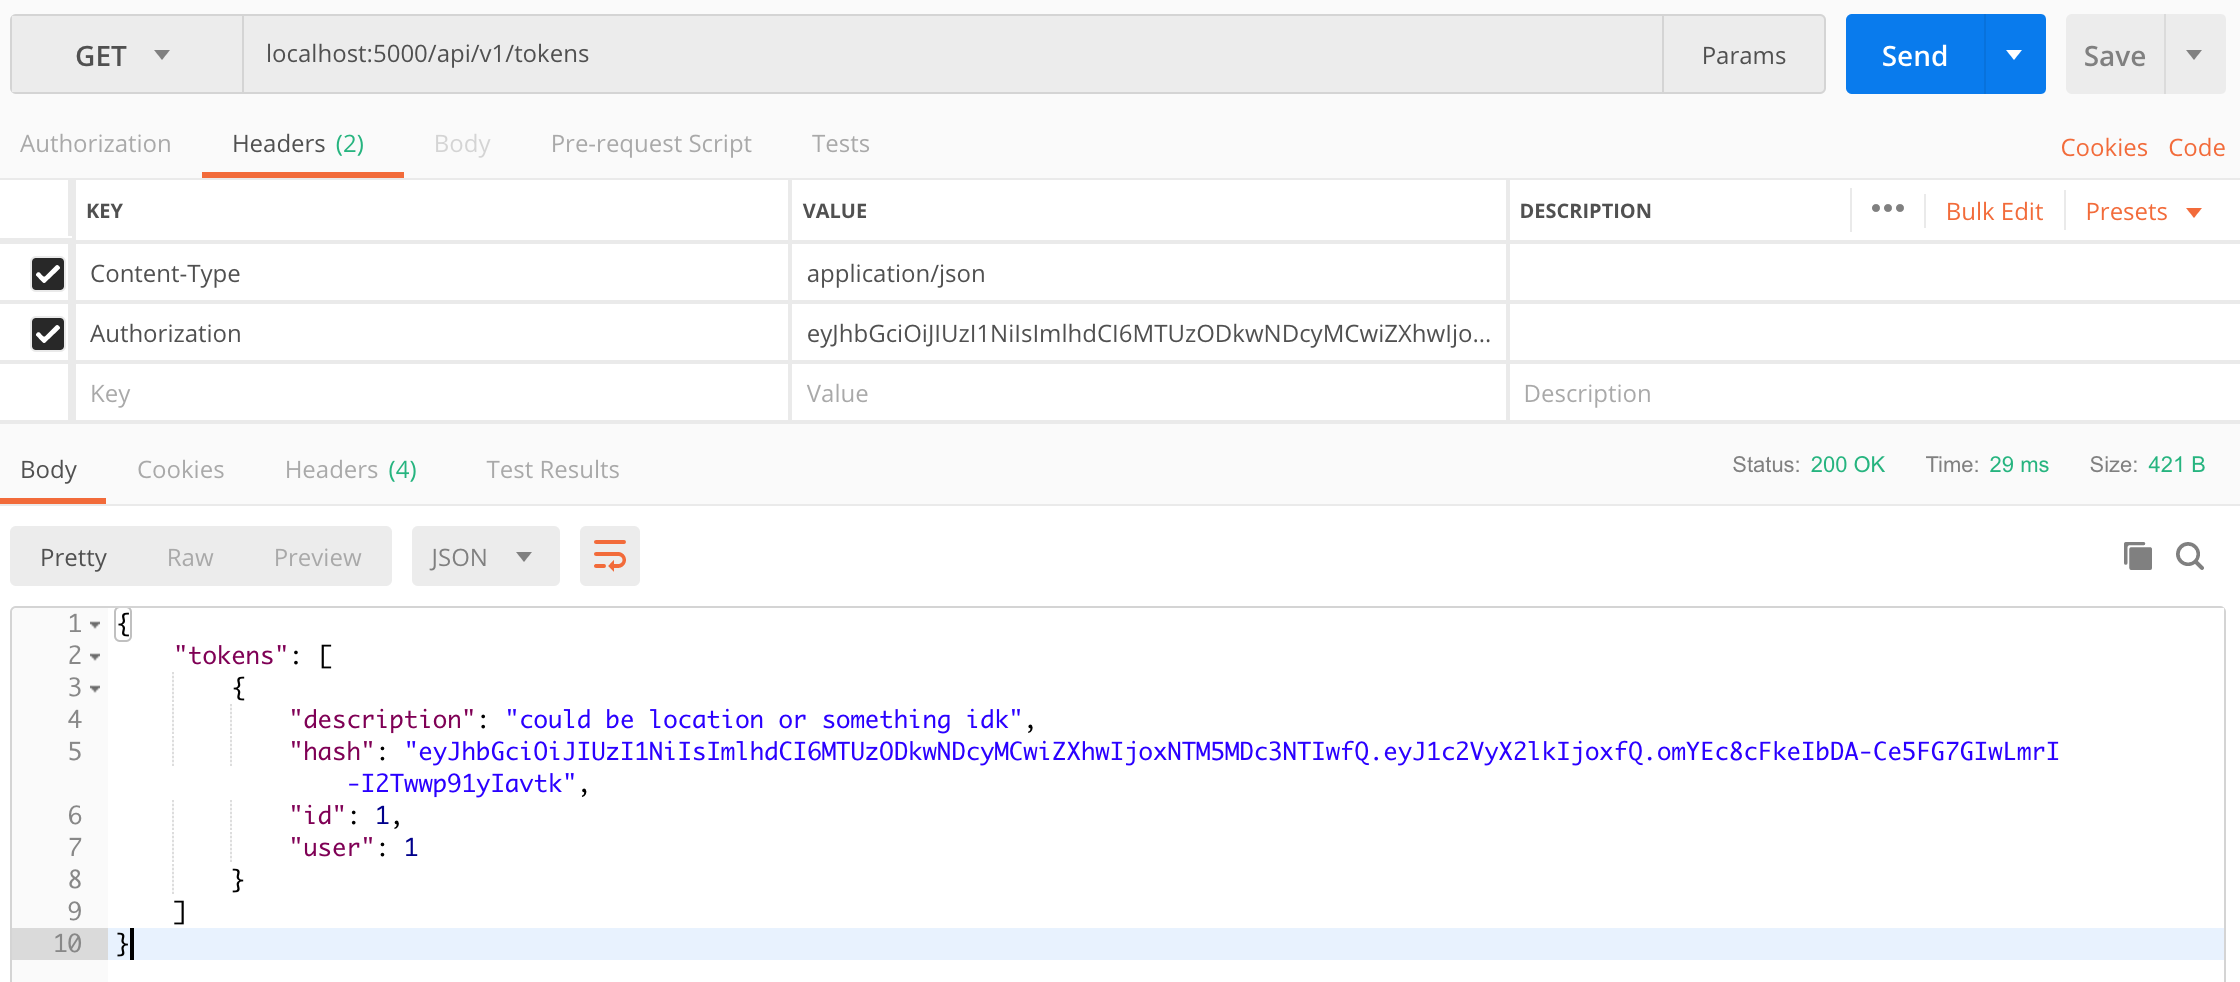
All good :)
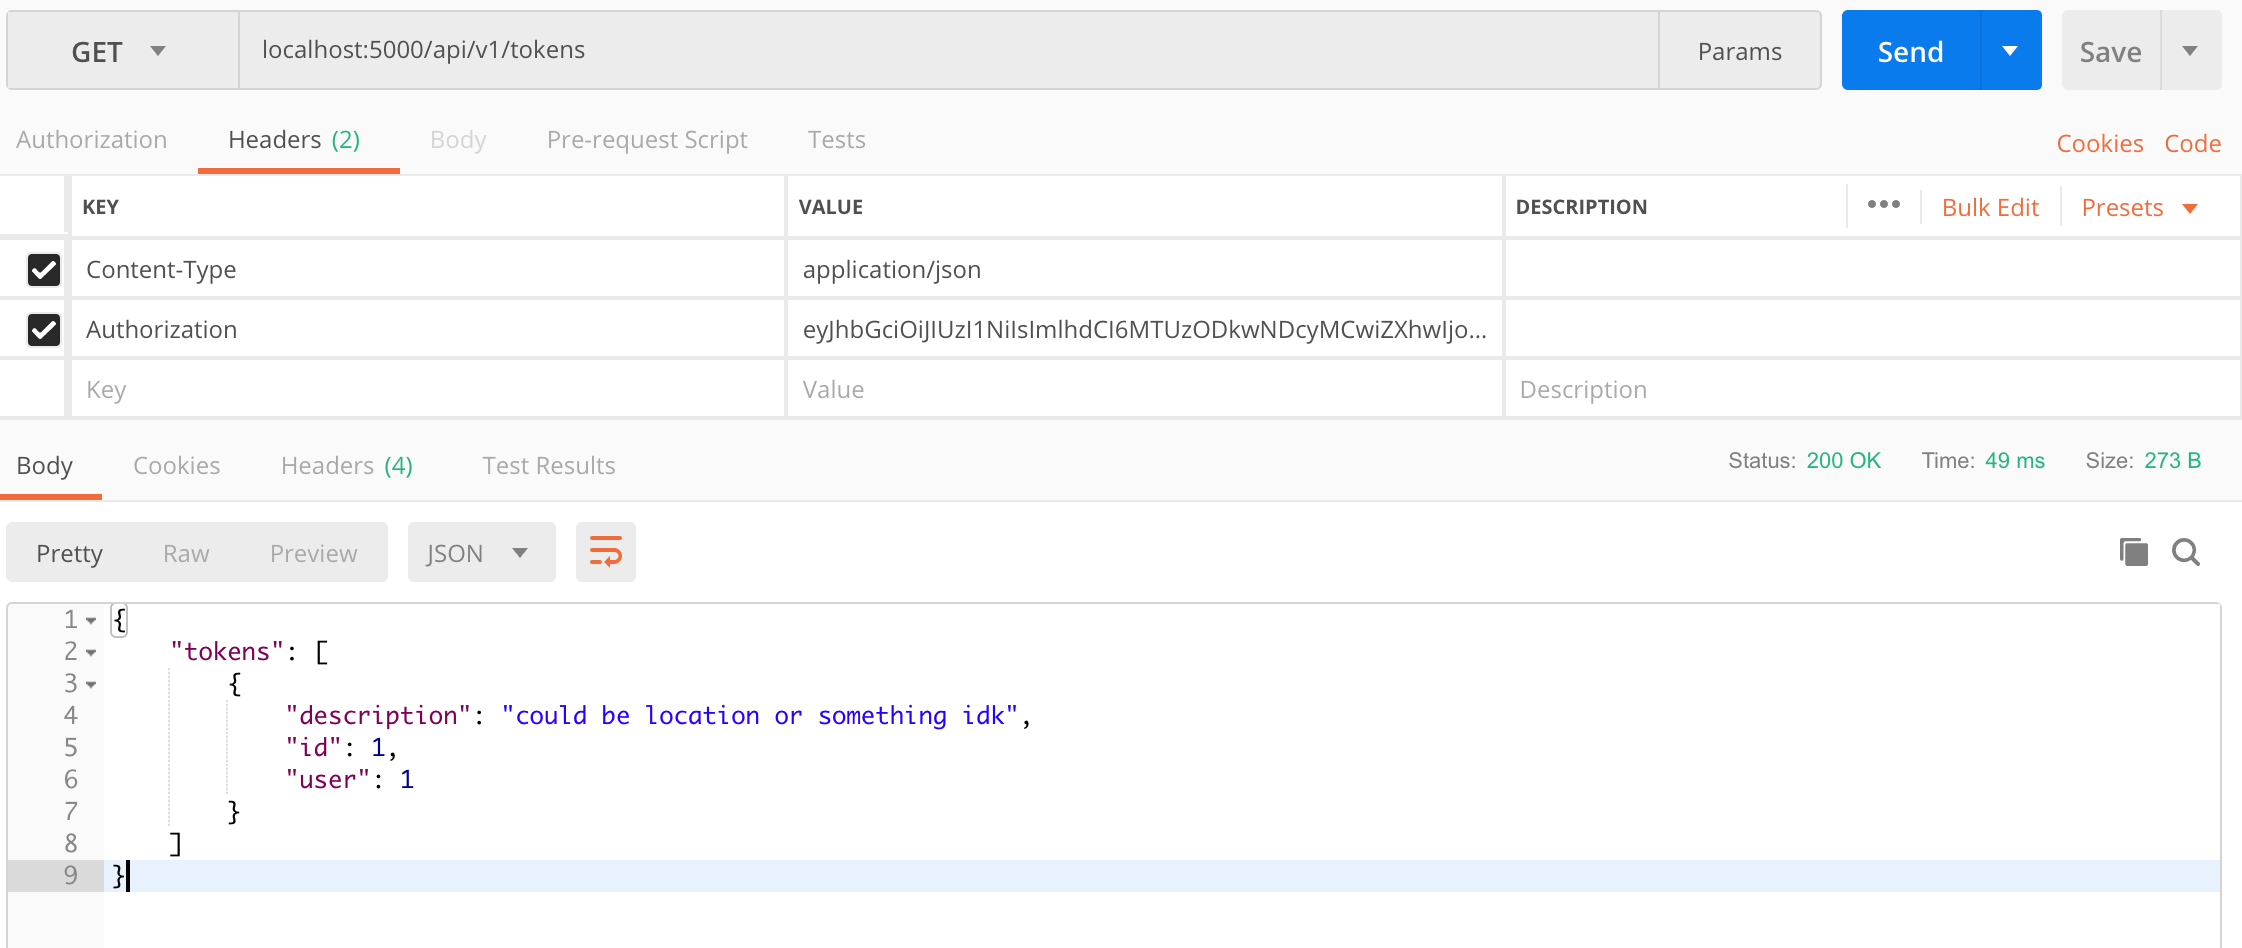
Now what if we want to exclude the hash (because the user does not need it) ?
→ We can update the Token schema and tell marshmallow to exclude the hash field.
# schemas/token.py
# https://marshmallow.readthedocs.io/en/3.0/quickstart.html
# https://marshmallow.readthedocs.io/en/3.0/extending.html
# https://marshmallow.readthedocs.io/en/latest/nesting.html

from ..marshmallow import ma
from ..models.token import Token


class TokenSchema(ma.ModelSchema):

    class Meta:
        model = Token
        include_fk = True
        exclude = ['hash']


token_schema = TokenSchema()
tokens_schema = TokenSchema(many=True)
Now the hash won’t be serialized.
4 - Token revocation
4.1 - Revoking a token
Now that our user can list all its tokens, it would be great to be able to revoke a token. Let’s add a route in api_v1/token.py then.
# api_v1/token.py

from flask import jsonify
from . import api_v1_blueprint
from .decorators import login_required
from ..database import db
from ..schemas.token import tokens_schema

[...]

@api_v1_blueprint.route('/tokens/<int:token_id>', methods=['DELETE'])
@login_required
def route_delete_token(current_user, token_id):
    for user_token in current_user.tokens:
        if user_token.id == token_id:
            db.session.delete(user_token)
            db.session.commit()
            return jsonify(msg="the token has been deleted"), 200
    return jsonify(err="404 token not found"), 404
4.2 - Revoking every token
# api_v1/token.py

from flask import jsonify
from . import api_v1_blueprint
from .decorators import login_required
from ..database import db
from ..schemas.token import tokens_schema

[...]

@api_v1_blueprint.route('/tokens', methods=['DELETE'])
@login_required
def delete_all_tokens(current_user):
    for user_token in current_user.tokens:
        db.session.delete(user_token)
        db.session.commit()
    return jsonify(msg="you are now disconnected for every device"), 200

[...]
4.3 - More unit tests
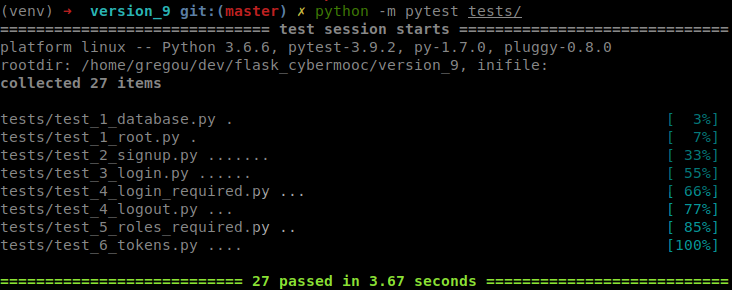
Again, in tests/test_6_tokens.py we add the unit tests for our new routes:
# tests/test_6_tokens.py

[...]

def test_delete_token_notfound(client, global_data):
    rv = client.delete('/api/v1/tokens/123469',
        headers={'Authorization': global_data['token']}
    )
    assert rv.status_code == 404


def test_delete_token_ok(client, global_data):
    rv = client.delete('/api/v1/tokens/'+str(global_data['token_id']),
        headers={'Authorization': global_data['token']}
    )
    assert rv.status_code == 200


def test_delete_all_tokens(client, global_data):
    rv = client.delete('/api/v1/tokens',
        headers={'Authorization': global_data['token2']}
    )
    assert rv.status_code == 200
4.4 - Testing with Postman

All right cool :-) A user can now list its tokens and revoke them !
Conclusion
If you’re stuck or don’t understand something, feel free to drop me an email / dm on twitter / a comment below. You can also take a look at flask_learning/flask_cybermooc/version_9 to see the reference code. And use run.sh to launch it.
Otherwise, congratulations ! You just learned how to implement token whitelisting.
This course is the last one that is fully explained.
I hope this was as complete as possible.
There is still plenty of rooms for improvement, but I think this will get you started easily for your next projects.
You’re now ready to go take a look at part 10 where I provide a complete boilerplate (skeleton) for you to use next time you want to start a flask app based project.
