Flask - Part 7
27 Sep 2018 · 2 min read
Introduction
This version_7 will show you how to restrict access to certain roles only on a route.
Setting up
To begin we will start from our previous version_6 app. If you don’t have it anymore, no worries, simply copy the reference code.
# assuming you're in flask_learning
cp -R flask_cybermooc/version_6 my_app_v7
cd my_app_v7
and initialize our venv :
# assuming you're in flask_learning/my_app_v7
virtualenv venv -p python3
source venv/bin/activate
# (venv)
pip install -r requirements.txt
All set up ? let’s begin.
1 - Restricting access
In order to restrict access to a route, we need a decorator.
1.1 - Creating roles_required decorator
Let’s add this new decorator in app/api_v1/decorators.py :
# app/api_v1/decorators.py

[...]

def roles_required(*roles):
    def wrapper(fn):
        @wraps(fn)
        def wrapped(current_user, *args, **kwargs):
            for required_role in roles:
                if current_user.has_role(required_role):
                    return fn(current_user=current_user, *args, **kwargs)
            return jsonify(err="you don't have the required roles"),401
        return wrapped
    return wrapper
This decorator is called after login_required, so the current_user will be available here.
We can now easily compare the roles of the user with the list of required_roles.
Let’s add an admin_only route in api_v1/hello.py :
# app/api_v1/hello.py

from . import root_blueprint
from .decorators import login_required, roles_required

[...]

@root_blueprint.route('/admin', methods=['GET'])
@login_required
@roles_required('admin')
def admin_only_route(current_user):
    return "if you see this, that means you are an admin"
1.2 - Unit test
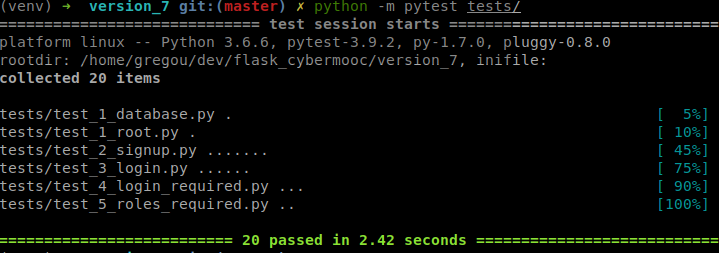
In tests let’s create a file test_5_roles_required.py :
# tests/test_5_roles_required.py

def test_login_required_not_allowed(client, global_data):
    rv = client.get('/admin', headers={'Authorization': global_data['token']})
    assert rv.status_code == 401


def test_roles_required(client, global_data):
    rv = client.get('/admin', headers={'Authorization': global_data['token_admin']})
    assert rv.status_code == 200

1.3 - Testing with Postman
Let’s reset our app and run it :
# assuming you're in flask_learning/my_app_v7 (venv)
flask reset-db
flask create-admin 'root' 'root@mail.com' 'toor'
flask run
we then log-in to get our token to use it in Authorization header.
- If the user is not an admin :

- If the user is an admin :

Working good :-)
Conclusion
If you’re stuck or don’t understand something, feel free to drop me an email / dm on twitter / a comment below. You can also take a look at flask_learning/flask_cybermooc/version_7 to see the reference code. And use reset.sh to launch it.
Otherwise, congratulations ! You just learned how to restrict access to certains users only.
You’re now ready to go to part 8 to implement whitelisting on the jwt.
